

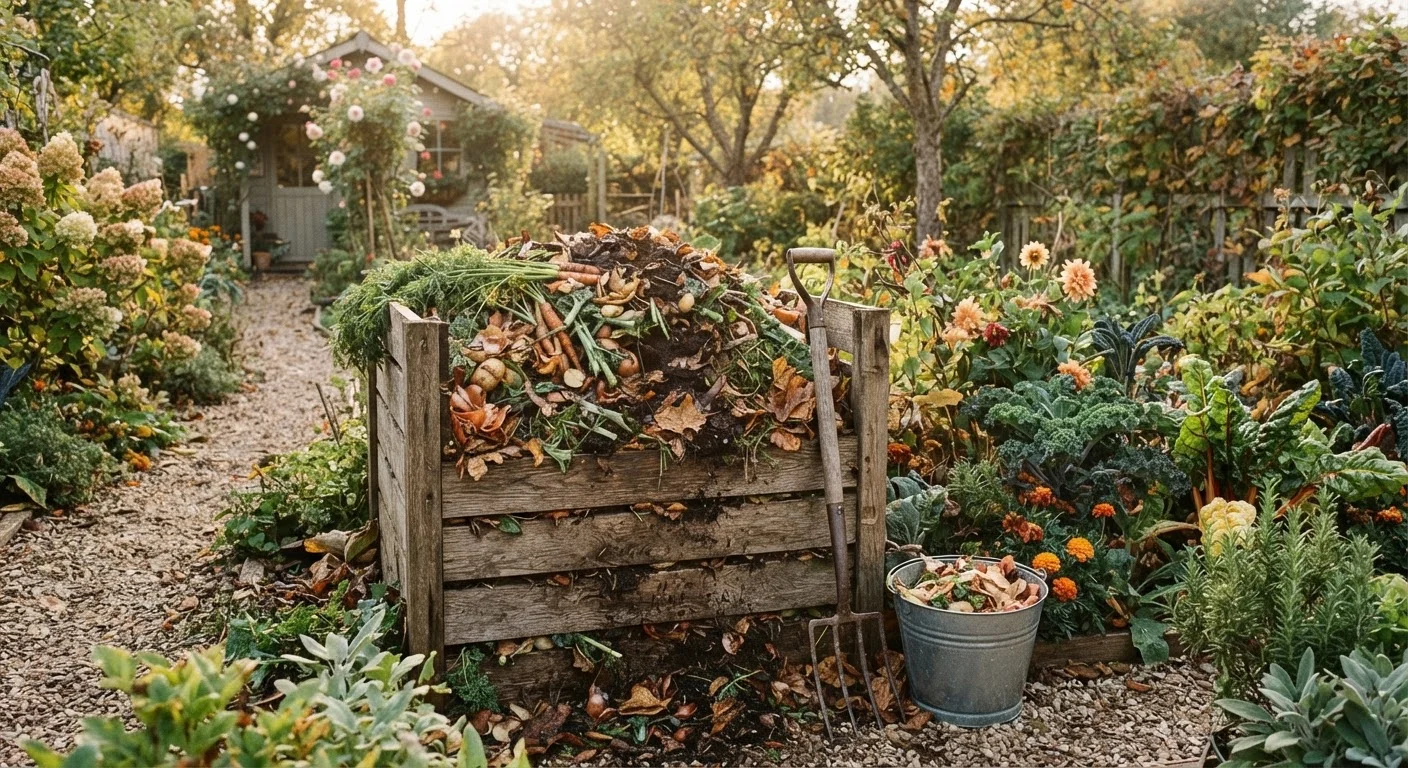
Why Composting Is Worth the Effort
Composting is one of the simplest ways to reduce household waste while producing something genuinely useful for your yard and garden. Kitchen scraps and yard debris that would otherwise fill a landfill can, with a little attention, become a rich soil amendment that feeds plants, improves drainage, and supports healthy microbial life underground.
Finished compost - often called humus - adds organic matter that loosens compacted clay soils and helps sandy soils retain moisture. If you're working on a raised bed garden, blending homemade compost into your soil mix is one of the most cost-effective ways to build a productive growing environment. And if you're starting a vegetable garden from scratch, that soil fertility is exactly what young plants need to establish strong root systems.
What you will need
What to Put In - and What to Leave Out
Composting relies on microorganisms breaking down organic matter. Those microbes need a balanced diet of carbon-rich materials (called "browns") and nitrogen-rich materials (called "greens"). A general rule of thumb is to aim for roughly 3 parts browns to 1 part greens by volume, though this doesn't need to be exact.
Browns (Carbon Sources)
- Dry leaves and straw
- Cardboard and newspaper (shredded, no glossy coatings)
- Paper bags and egg cartons
- Dry twigs and wood chips
- Sawdust from untreated wood
Greens (Nitrogen Sources)
- Fruit and vegetable scraps
- Coffee grounds and paper filters
- Tea bags (check that they're compostable)
- Fresh grass clippings
- Plant trimmings and spent flowers
- Eggshells (technically neutral, but valuable)
Keep These Out
- Meat, fish, and bones
- Dairy products and fats or oils
- Pet waste
- Diseased or pest-ridden plants
- Weeds that have gone to seed
- Treated wood products or heavily coated paper
Meat and dairy attract pests and create odor problems. Diseased plant matter can survive in a pile that doesn't get hot enough, reintroducing pathogens back into your garden - something our guide on common garden myths addresses when discussing plant health habits worth dropping.
Coffee Grounds Are a Composting Staple
Coffee grounds are often mistakenly believed to be highly acidic and harmful in compost. In practice, the acidity largely washes out during brewing, and grounds contribute valuable nitrogen to the pile. Used paper coffee filters can go in as well. Adding grounds regularly is a simple way to boost your green material supply.
Choosing Your Composting Method
There is no single "right" setup. Your choice depends on how much material you generate, how much outdoor space you have, and how quickly you want finished compost.
Open Pile or Bin
An open pile in a corner of the yard works well for homeowners with regular leaf and yard debris. A three-sided wooden or wire bin helps contain the pile while keeping airflow adequate. These systems tend to be low maintenance but slower - often taking several months to a year to produce finished compost without active management.
Tumbler or Enclosed Bin
A rotating tumbler or sealed plastic bin speeds up decomposition by retaining heat and making it easier to turn the pile regularly. These are also better for deterring pests, particularly in suburban or urban yards.
Vermicomposting
Worm composting uses red wiggler worms to break down food scraps in a compact, odor-controlled bin - suitable even for apartments or garages. The resulting worm castings are a concentrated, nutrient-dense amendment prized by gardeners.
Pitchfork or compost-turning tool
Used to aerate and turn the pile, speeding up decomposition by introducing oxygen.
Compost bin or tumbler
Contains the pile, retains heat, and deters pests - especially valuable in suburban yards.
Kitchen scrap container with lid
Collects food scraps on the countertop between trips to the main compost pile.
Garden hose or watering can
Used to add moisture when the pile becomes too dry to support active decomposition.
Compost thermometer
Measures internal pile temperature to confirm active microbial decomposition is occurring.
How to Set Up and Maintain Your Compost
Once you've chosen a method, follow these steps to build and manage a productive pile. The goal is to keep your pile roughly as moist as a wrung-out sponge, well-aerated, and properly balanced between browns and greens.
Choose a location
Place your compost pile or bin in a spot with partial shade - full sun dries it out quickly, and a completely shaded location can stay too wet. Make sure it's reasonably close to your kitchen door and garden beds for convenience. It should sit directly on bare soil rather than concrete so beneficial organisms can migrate in from the ground.
Build your base layer
Start with a 4-6 inch layer of coarse browns - dry leaves, straw, or small twigs work well. This base layer promotes airflow at the bottom of the pile and prevents compaction. Follow it with a thin layer of greens, such as vegetable scraps or fresh grass clippings.
Continue layering and adding materials
Add new materials in alternating layers of browns and greens. Whenever you add a batch of nitrogen-rich kitchen scraps, cover them with an equal or larger volume of browns. This ratio prevents the pile from becoming slimy or odorous and keeps the microbial community balanced.
Maintain moisture
Check your pile's moisture level regularly. Squeeze a handful - it should feel damp but not dripping. If the pile is too dry, decomposition stalls; too wet, and it becomes anaerobic and smelly. In dry spells, mist the pile lightly with a hose. In heavy rain, cover it with a tarp or lid to prevent waterlogging.
Turn the pile regularly
Use a pitchfork or turning tool to mix the pile every one to two weeks for faster results, or every three to four weeks for a low-effort approach. Turning moves materials from the cooler outer edges to the hot center where decomposition is most active, and reintroduces oxygen that microbes need to thrive.
Harvest and use finished compost
Finished compost is dark brown to black, crumbly, and smells pleasantly earthy - nothing like rotting food. It typically takes anywhere from two months to one year depending on your method and how actively you manage the pile. Use a screen or mesh to sift out any large unfinished pieces and return them to the active pile. Apply the finished compost directly to garden beds, work it into planting holes, or use it as a lawn top dressing.
When your compost is dark, crumbly, and earthy-smelling with no recognizable food or yard scraps remaining, it's ready to use. Work it into garden beds, use it as a top dressing around perennials, or blend it into potting mixes. Pairing finished compost with a proper mulching strategy can further protect your soil between growing seasons. In autumn, adding finished or partially finished compost to garden beds is a natural part of fall yard preparation before winter sets in.
The content on this site is for informational purposes only and is not a substitute for professional advice. Always consult a qualified professional for guidance specific to your situation.