

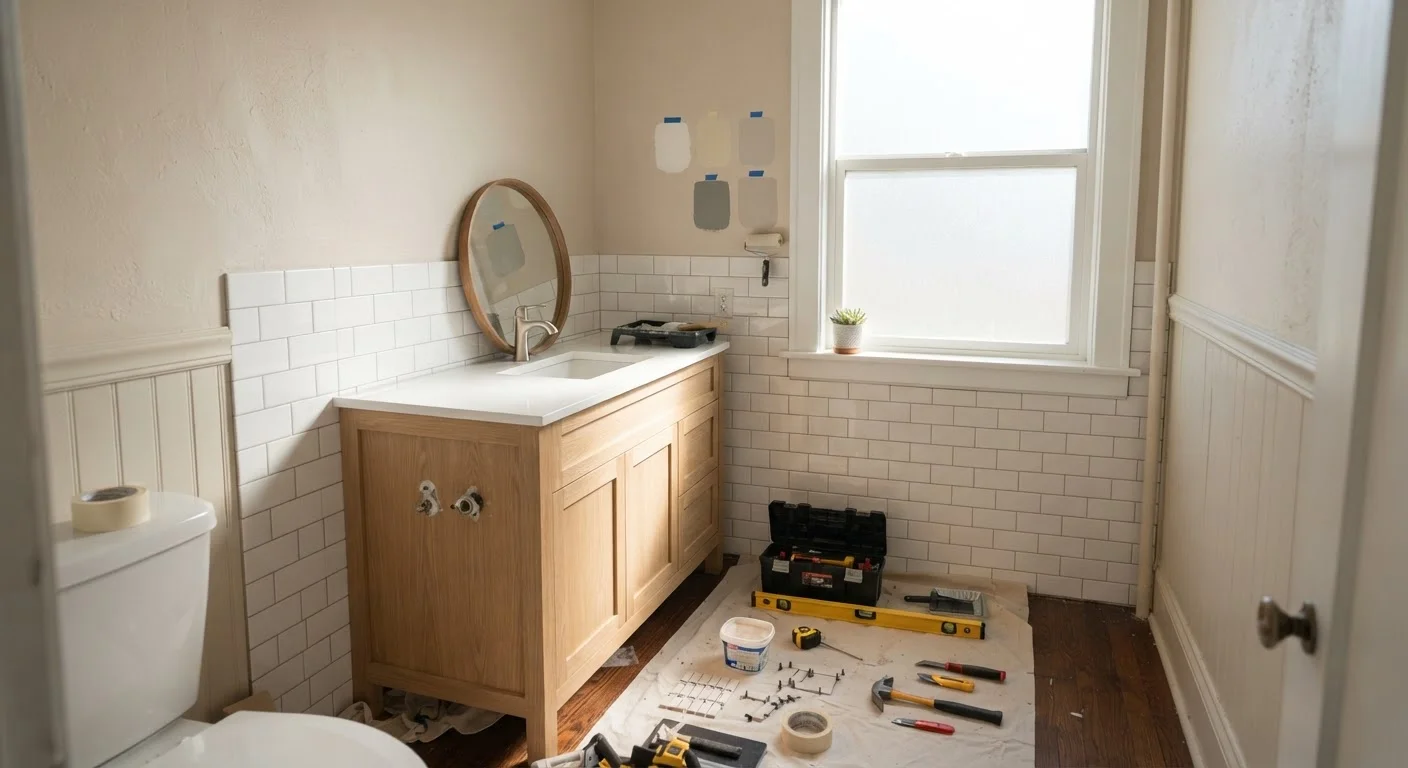
Start with a Scope, Not a Wish List
Before you pick a single tile or faucet finish, get clear on what the project actually needs to accomplish. A bathroom remodel on a modest budget demands ruthless prioritization - knowing which problems you're solving versus which upgrades are simply nice to have.
Walk through the space and categorize every potential change into three groups: must-fix (leaks, damaged subfloor, failing grout, inadequate ventilation), high-value upgrades (vanity, toilet, lighting), and cosmetic wishes (heated floors, custom tile patterns, spa fixtures). A tight budget means funding the first two groups well before entertaining the third.
If you're new to planning a renovation at this scale, the beginner's renovation primer covers budgeting, permits, and realistic expectations in useful depth before you commit to a scope.
Budget Realistically and Build In a Cushion
Bathroom remodels routinely uncover hidden issues - rotted subfloor behind a toilet, outdated wiring that doesn't meet current code, or water damage behind tile. These aren't contractor surprises; they're normal discoveries in older homes. Budget a 10-15% contingency on top of your project estimate so that discoveries don't derail the entire renovation.
~$12,000
Midrange bathroom remodel national average cost
Remodeling Magazine's Cost vs. Value report has historically placed midrange bathroom remodel costs in the $10,000-$15,000 range nationally, though figures vary significantly by region and project scope.
60-67%
Average cost recouped at resale
Industry cost-vs.-value analyses suggest midrange bathroom remodels typically recoup roughly 60-67% of their cost at resale, depending on local market conditions.
Get at least two written estimates if you're hiring any portion of the work out, and ask each contractor to break down labor versus materials. That breakdown helps you identify where doing some work yourself could reduce cost - and where it genuinely can't. The DIY-vs.-hire framework can help you make that call clearly for each task.
Also consider how the bathroom fits into your broader financial picture. For general guidance on tracking renovation spending against your household budget, the Budgeting Basics hub offers useful foundational strategies.
Best Practices for Keeping Costs in Check
Working within a modest budget doesn't mean accepting a substandard result - it means making smarter decisions throughout the project. The practices below reflect what experienced renovators consistently recommend.
Keep plumbing fixtures in their existing locations whenever possible.
Moving a toilet, shower drain, or sink requires rerouting supply and drain lines - work that quickly adds thousands of dollars in labor and materials. Keeping fixtures in place is one of the highest-leverage cost-saving decisions you can make.
Invest in waterproofing, then surface materials - in that order.
Shower surrounds and floor assemblies that fail due to inadequate waterproofing cause water damage that costs far more to repair than the original surface work. Protecting the structure takes priority over aesthetics.
Choose standard fixture sizes to control material and labor costs.
Custom or oversized fixtures require specialized installation, non-standard rough-in dimensions, and can create lengthy lead times. Standard sizes - common toilet rough-in distances, standard tub lengths - keep options competitive and labor straightforward.
Handle demo yourself only when it's safe and clearly within your skill set.
Demolition is one of the few phases where homeowners can meaningfully reduce labor costs - but only on non-structural, non-hazardous work. Removing tile, vanities, or toilets is generally manageable DIY work; cutting into walls near plumbing or electrical is not.
Evaluate tile-over-tile as a cost-saving option for floors when conditions allow.
Full floor demo adds labor time and disposal costs. When the existing tile is firmly bonded, the floor height increase is acceptable, and the subfloor is sound, tiling over existing tile can be a legitimate approach. See the tile-over-tile comparison guide for a detailed breakdown.
Pull permits for any plumbing or electrical work - do not skip this step.
Unpermitted work can complicate home sales, void homeowner's insurance claims related to that work, and leave you liable if something goes wrong. Many jurisdictions require permits for bathroom plumbing alterations or electrical panel additions. The cost of a permit is a fraction of the cost of correcting unpermitted work later.
Phase the Work If You Need To
A full bathroom gut-and-replace isn't the only path. Phasing a remodel over 12-24 months - tackling plumbing rough-in one season, surfaces the next, and fixture upgrades later - is a legitimate strategy that many homeowners use to avoid debt while still making meaningful progress.
The key to successful phasing is sequencing correctly. Structural and waterproofing work always comes first. Cosmetic upgrades - paint, accessories, lighting - come last. Doing it backward wastes money when earlier phases require tear-out.
For a useful comparison of how bathroom planning differs from larger kitchen projects, see the kitchen renovation readiness checklist, which highlights how room-specific planning changes the approach. And if you're weighing whether your investment makes sense for your home's value, renovating for value vs. comfort can help you set realistic expectations.
This article provides general home improvement information for educational purposes. Costs, timelines, and code requirements vary significantly by region and project scope. Always consult licensed professionals for work involving plumbing, electrical systems, or structural elements, and verify local permit requirements before beginning any renovation.
The content on this site is for informational purposes only and is not a substitute for professional advice. Always consult a qualified professional for guidance specific to your situation.