

Start With a Moisture Assessment
No finishing material survives a wet basement. Before purchasing a single sheet of drywall, spend two to four weeks evaluating how your basement handles moisture. Tape 12-inch squares of plastic sheeting to both the floor and walls in several spots; if condensation collects on the underside after a few days, moisture is migrating through the concrete itself. Condensation on the top surface points to humidity in the air rather than ground intrusion-a different problem requiring different solutions.
Active water intrusion from cracks, window wells, or a failing sump pump must be resolved before any finish work begins. Patching hairline cracks with hydraulic cement is a reasonable DIY fix; larger structural cracks or a chronically wet floor warrant a waterproofing contractor's assessment. Interior drainage systems and sump pumps address water after it enters; exterior waterproofing membranes and grading corrections address it at the source.
Plastic Sheet Test for Moisture
Tape 12-inch squares of plastic sheeting to your basement floor and walls and leave them for 48-72 hours. Moisture on the underside indicates water migrating through the concrete; moisture on the top surface indicates humidity in the air. Each type of moisture requires a different fix, so diagnosing the source before you start is essential.
Even in dry basements, install a continuous vapor barrier-typically 6-mil polyethylene sheeting-over the floor before laying any finish flooring. This cheap precaution prevents ground moisture from slowly degrading your finished surfaces over time.
Permits, Codes, and Egress Requirements
Finishing a basement almost universally requires a building permit in the United States. Skipping permits puts your home sale at risk, may void your homeowner's insurance on that space, and can result in costly corrective work later. Your local building department will tell you exactly what's required-most jurisdictions need a permit for framing, electrical, plumbing, and HVAC work performed in a basement conversion.
If you plan to include a bedroom or sleeping area, egress windows are not optional. The International Residential Code (IRC), which most jurisdictions adopt, requires that sleeping rooms have at least one escape window with a minimum net clear opening of 5.7 square feet (5.0 square feet at grade level), a sill height no more than 44 inches from the floor, and minimum width and height dimensions of 20 and 24 inches respectively. Installing an egress window in a concrete or block foundation is not a DIY task-it requires saw cutting the foundation wall, which carries structural and waterproofing implications best handled by experienced contractors.
Never Skip Life-Safety Detectors
Smoke detectors and carbon monoxide detectors are code requirements in finished basements in virtually every jurisdiction. If your HVAC system, water heater, or furnace is in the basement, a CO detector is especially critical. These are low-cost, high-consequence items-hardwired or battery-backup models should be installed before the space is occupied.
Smoke detectors and carbon monoxide detectors are code requirements in finished basements in virtually every jurisdiction. If your HVAC system, water heater, or furnace is in the basement, a CO detector is especially critical. Never skip this step.
Framing and Insulation
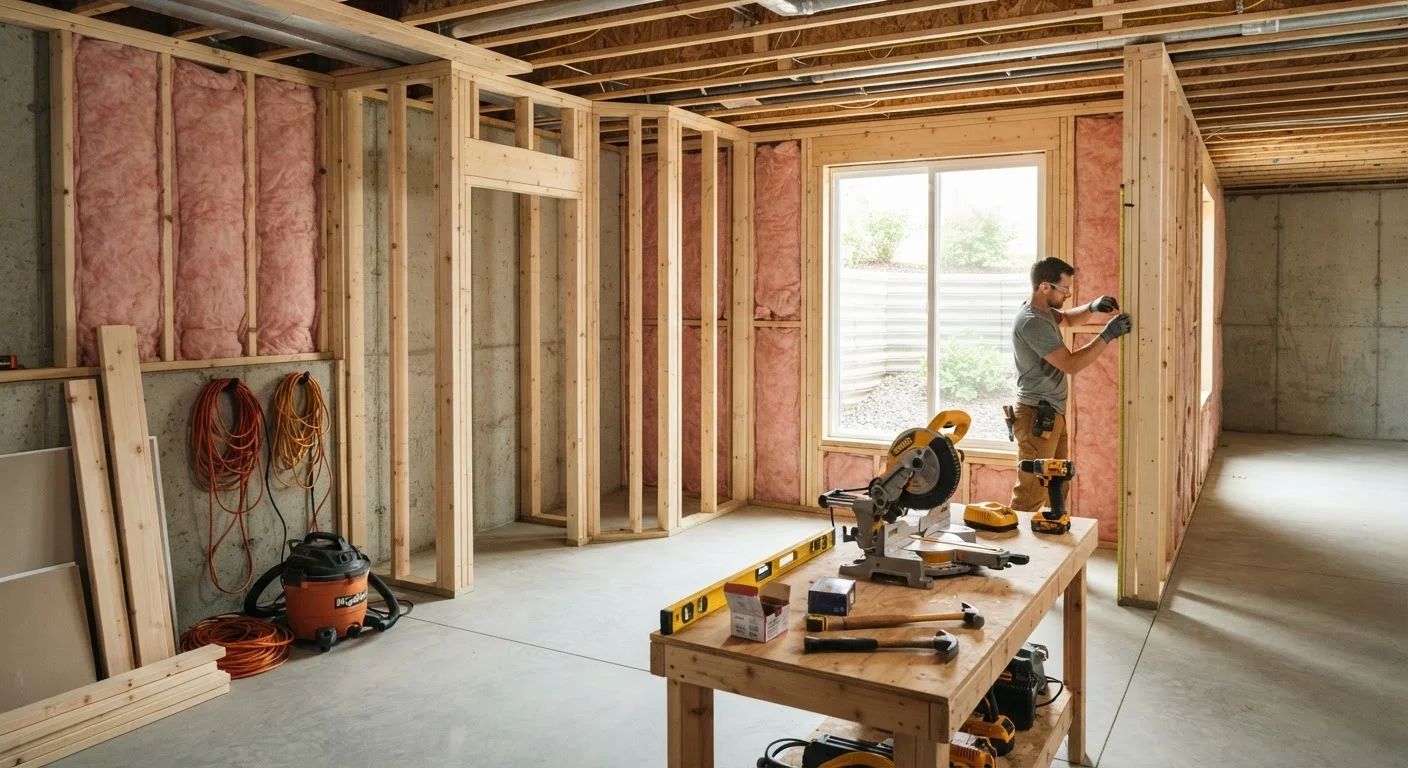
Basement walls are typically framed with 2×4 lumber set an inch away from the foundation wall-this gap allows air circulation and prevents wood from wicking moisture from concrete. Pressure-treated lumber is required for any framing in direct contact with concrete or masonry, including the bottom plate. Standard stud spacing is 16 inches on center.
Insulation choices below grade differ from above-grade applications. Rigid foam board (XPS or polyiso) adhered directly to the foundation wall before framing is an effective approach because it resists moisture and provides continuous coverage without thermal bridging. Fiberglass batt insulation installed in the stud cavity is also common but should always be paired with a vapor retarder on the warm (interior) side. Spray foam applied to the interior of foundation walls seals air leaks and insulates simultaneously, though it carries a higher upfront cost. For a full comparison of insulation types and R-values, see our insulation reference guide-many of the same principles apply below grade.
Mechanical Systems: HVAC, Plumbing, and Electrical
Rough-in work for mechanical systems must occur after framing but before drywall-there are no shortcuts here. Closing up walls without running wiring, ductwork, or plumbing supply and drain lines means tearing everything back open later.
For HVAC, assess whether your existing system has capacity to condition the added square footage. A load calculation performed by an HVAC technician will confirm this. Supply and return registers should be planned to achieve balanced airflow. For guidance on what inspectors look for during HVAC evaluations, see what to expect from a home systems inspection.
For plumbing, adding a bathroom requires breaking the concrete floor to tie into existing drain lines-a significant undertaking. Confirm that your home's main drain line elevation allows for gravity drainage; if not, an ejector pump system will be needed.
For electrical, a licensed electrician should assess whether your panel has capacity for additional circuits. Basement finishing typically requires dedicated circuits for any bathroom, home theater, or workshop use. Do not attempt to add subpanels or circuit breakers yourself-this work must be permitted and inspected.
Before finalizing your framing layout, mark the locations of every cleanout, shutoff valve, and access panel on your mechanical plan-then frame around them deliberately. Drywall covering a buried cleanout is a headache you will absolutely regret.
Plumbers and HVAC technicians regularly encounter inaccessible cleanouts and valves in finished basements, requiring drywall demolition for routine maintenance. A few minutes of planning prevents hours of repair work.
Run a dehumidifier in your basement for a full heating season before finalizing your flooring choice. The humidity readings you observe will tell you definitively which flooring category is safe to install.
Basements that feel dry in summer can develop significant condensation issues in winter when cold concrete meets heated interior air. Observing conditions across seasons gives you real data rather than assumptions.
Flooring and Finishing
Below-grade spaces demand flooring materials that tolerate humidity and occasional minor moisture events. Luxury vinyl plank (LVP) is widely used in basement applications because it's waterproof, durable, and installs as a floating floor that allows for concrete movement. Engineered hardwood (not solid hardwood) can work if the basement maintains consistently low humidity. Ceramic and porcelain tile are excellent moisture-resistant options, though they feel cold underfoot without radiant heating. Traditional carpet is a higher-risk choice below grade and should only be used when moisture control is thoroughly established.
For walls, moisture-resistant drywall (commonly called greenboard or paperless drywall) is appropriate for basement applications. Standard drywall can be used in dry, well-conditioned basements, though moisture-resistant products add a sensible layer of protection. For paint selections, a satin or semi-gloss finish on basement walls is easier to clean and more resistant to moisture than flat finishes-our paint finish comparison guide explains the tradeoffs clearly.
Ceiling options range from traditional drywall (which requires access panels at plumbing cleanouts) to suspended drop ceilings, which provide convenient access to mechanical systems running overhead.
Budgeting and Project Sequencing
Basement finishing costs vary widely depending on scope, region, and whether the space includes a bathroom, wet bar, or home theater. General cost estimates often range from $25 to $75 per square foot for basic finishes, rising significantly with added plumbing or high-end materials. These figures are general reference points only-get multiple contractor quotes for your specific project and local market. If this is your first major renovation, a first-time renovator's primer covers budgeting fundamentals and how to manage contractor relationships effectively.
The correct sequencing for a basement finishing project follows this general order: moisture remediation → permits pulled → rough framing → rough HVAC, plumbing, and electrical → inspections → insulation → drywall → finish flooring → trim, doors, and fixtures → final inspections. Deviating from this sequence-particularly by closing up walls before mechanical inspections-is one of the most common and costly mistakes homeowners make.
Plan contingency funds of 15-20% above your base budget for surprises that emerge once walls open and concrete is cut. The unexpected is routine in renovation; budgeting for it upfront reduces stress significantly.
This article provides general educational information about basement finishing projects. Always consult licensed contractors, your local building department, and qualified professionals before beginning work. Costs, code requirements, and feasibility vary by location and project scope.
The content on this site is for informational purposes only and is not a substitute for professional advice. Always consult a qualified professional for guidance specific to your situation.