

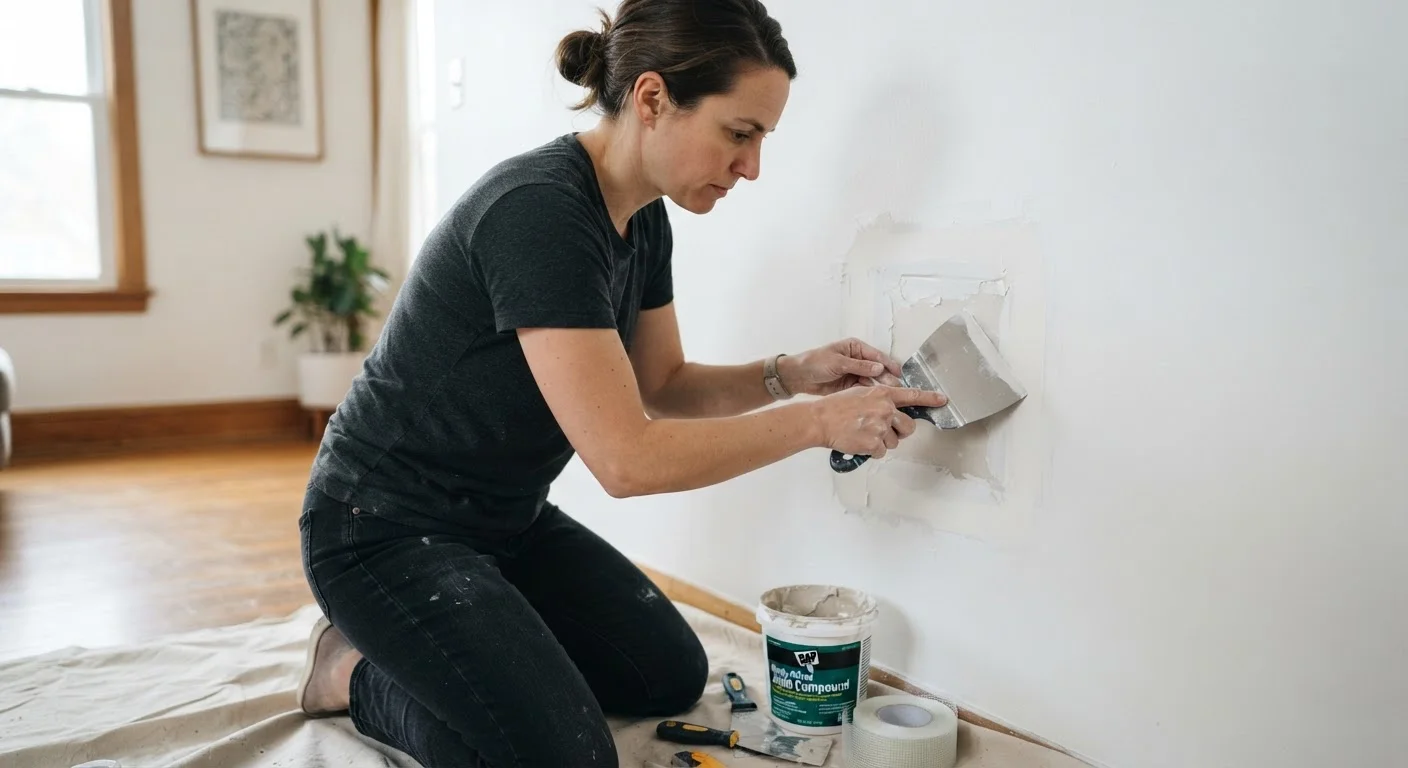
Understanding Drywall Damage and Choosing Your Approach
Drywall damage falls into three broad categories based on size, and each calls for a different technique. Getting the method right from the start saves time and avoids the frustration of a repair that cracks, sags, or shows through paint.
- Nail holes and hairline cracks (under ½ inch): These need nothing more than a dab of lightweight spackling compound and a quick sand.
- Medium holes (½ inch to 4 inches): Self-adhesive mesh patches or a California patch work well without the need to cut new drywall.
- Large holes (over 4 inches): These require a drywall backer - either furring strips or a commercially available repair clip - plus a cut-to-fit piece of new drywall.
Before choosing your method, check whether the damage is isolated or part of a pattern. Cracks that radiate from window corners or run along seams repeatedly may point to settling or moisture issues rather than simple surface wear. For a broader look at what warning signs to watch for, see our guide to structural warning signs.
What you will need
Tools and Materials You Will Need
Gathering everything before you start keeps the project moving and reduces mid-repair trips to the hardware store.
Lightweight joint compound (pre-mixed)
Used to fill, skim, and feather repairs of all sizes for a smooth wall surface.
Putty knife or drywall knife (4-6 inch)
Spreads and feathers compound evenly over the repair area.
Self-adhesive mesh patch
Bridges medium holes (up to 4 inches) without requiring wood backing.
Drywall repair clips or furring strips
Creates a solid backer for large hole repairs so new drywall has something to screw into.
120- and 220-grit sandpaper
Used between coats and for final smoothing to blend the repair into surrounding wall.
Primer
Seals joint compound before painting to prevent uneven paint absorption.
Drywall screws and a screw gun
Secures new drywall panels or backers for large-hole repairs.
Sanding sponge
Allows controlled, light sanding in tight spots or near corners without gouging.
For texture matching, you may also need a spray texture can labeled to match your wall type (orange peel, knockdown, or smooth). Test any texture product on a scrap piece of drywall first to dial in the spray distance and pattern before applying it to your wall.
Step-by-Step Repair Instructions
Follow these steps in order. Rushing drying times is the single most common reason a drywall repair fails or shows cracks later.
Clean and prepare the damaged area
Remove any loose paper facing, crumbled gypsum, or protruding drywall fragments around the hole or crack. For nail holes, simply push any raised paper edges flat. For larger damage, use a utility knife to trim away torn or frayed drywall paper until you have clean, stable edges. Dust the area with a dry cloth.
Apply the appropriate patch backing
For small holes under ½ inch, no backing is needed - move directly to applying compound. For medium holes (½ inch to 4 inches), center a self-adhesive mesh patch over the hole and press firmly. For large holes, cut the damaged area into a clean rectangle with a drywall saw, then secure furring strips or repair clips inside the opening and attach a cut-to-fit piece of new drywall with drywall screws set slightly below the surface.
Apply the first coat of joint compound
Using a 4-6 inch putty knife, spread a thin, even layer of lightweight joint compound over the patch, pressing firmly to fill voids. Feather the edges outward several inches beyond the patch to blend the repair gradually into the surrounding wall. Avoid applying a thick layer - thinner coats dry more reliably and crack less.
Let dry completely, then sand and apply additional coats
Allow each coat to dry fully - typically 4 to 8 hours depending on humidity and coat thickness. Compound is ready when it turns uniformly white with no dark or translucent patches. Once dry, sand lightly with 120-grit sandpaper using circular motions, then wipe away dust. Apply a second coat, feathering it even wider than the first. Most repairs require two to three coats total. Finish with 220-grit sandpaper for a smooth surface.
Match texture, prime, and paint
If your wall has a texture, replicate it now using a spray texture can or the appropriate tool for your wall's finish. Once the texture is dry, apply a coat of drywall primer to the entire repaired area. After priming, paint with a roller using the same sheen as the surrounding wall. For the most invisible result, feather the paint slightly beyond the primed area rather than cutting a hard edge.
Sand Lightly - Less Is More
Over-sanding is a common mistake that creates low spots and removes the paper face of surrounding drywall, making blending harder. Use a light touch with fine-grit paper and check your progress frequently by holding a work light at a low angle to the wall surface - this raking light reveals high spots and depressions clearly.
Once the repair is fully cured and sanded, prime the patched area before painting. Skipping primer is a frequent mistake - unprimed compound absorbs paint unevenly, leaving a dull spot called flashing that remains visible even after multiple paint coats.
If you find yourself weighing whether this repair is a reasonable DIY project or something better left to a professional, our framework for making that call can help you decide with confidence.
The content on this site is for informational purposes only and is not a substitute for professional advice. Always consult a qualified professional for guidance specific to your situation.